People ask me what camera I have and I chuckle to myself my camera is a simple point and shoot, nothing fancy, nothing expensive, yes its a stunning little camera ( a cannon powershot A480) which i highly recommend, the clarity of the pictures is great, but a great photo can be achieved with any camera.
So whats the true secret to an amazing photo?
I think taking a wonderful photo is a skill, and one which I am still trying to master, but there are definitely little hints and tricks to help you along.
Obviously computers have changed photography now you can edit your photographs amazingly easily, you can take a photo which is good and make it great with a few touches of buttons.
My favourite place to edit photos is Picnik, where you can so quickly and easily enhance the colours, increase brightness and contrast, change to black and white or do several other amazing edits all so easily with slider bars.
One other thing which people in the know talk about is setting up the shot, the rule of thirds is mentioned alot, but to be honest I don't hold this in mind when I take a photo, nor do I when I edit them, but what looks comfortable on the eye does often lie with the rule of thirds so there is definitely some seance following it, and although it isn't in the for front of my mind when I take and edit my photos looking back through them most of them do indeed follow the rule of thirds. For those of you who may not of heard of this before, the rule of thirds is a concept that applied to all art, paintings, photos whatever, and is where you imagine your picture split into 9 equal squares, 3 x 3 and try and aline the main points of interest to thirds, rather than simply centering the subject.
Here are some before and after to show what can be done by using Picnik.com The majority of effects on Picnik are able to be used for free, so I'd love for you to try it yourself and then share with me your efforts :)
(click to see the pictures larger)
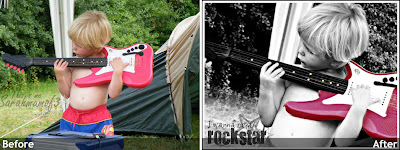
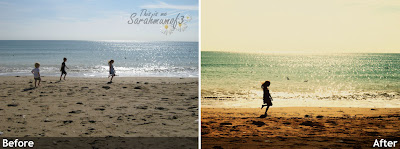
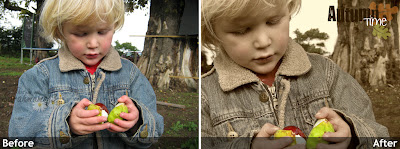
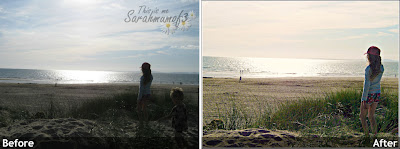
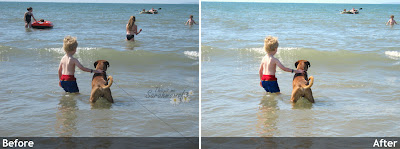
And if you'd like me to do a walk through of how I achieved any of the edits I have then let me know.

I am another amateur photo freak and hope to be able to go back to classes in two weeks. I love taking photos but had no editing package so will start using picnik and stop using my iphone all the time!
ReplyDeleteI used to take a lot of photos before I had my children. I'm thinking of taking it up again as a way to find some relaxation and develop another interest. Your tips here are really helpful - thanks for sharing them. Deb
ReplyDeleteI am very keen to take up amateur photography and attend some classes, my camera is a 4 year old sony cybershot and think I may save up and buy myself a starter DSLR for Christmas 'from my daughter to me' lol.
ReplyDeleteYour before and afters are great!!
Thanks for the comments I would love to see your edits if you give Picnik ago :D
ReplyDeleteOoo thanks for the tips. I'm having a play on Picnik now. How did you do the b&w pic with red guitar? I have a pic of my daughter in the woods that I love and really want to b&w except for her bright pink coat. x
ReplyDeletegreat tips for me as helpful to me.. also do visit me sultanbahoo
ReplyDelete